> For the complete documentation index, see [llms.txt](https://help.felt.com/llms.txt). Markdown versions of documentation pages are available by appending `.md` to page URLs; this page is available as [Markdown](https://help.felt.com/layers/popup-interactions.md).
# Popup interactions
Add hover effects, popups, and clickable features to create engaging interactive maps.
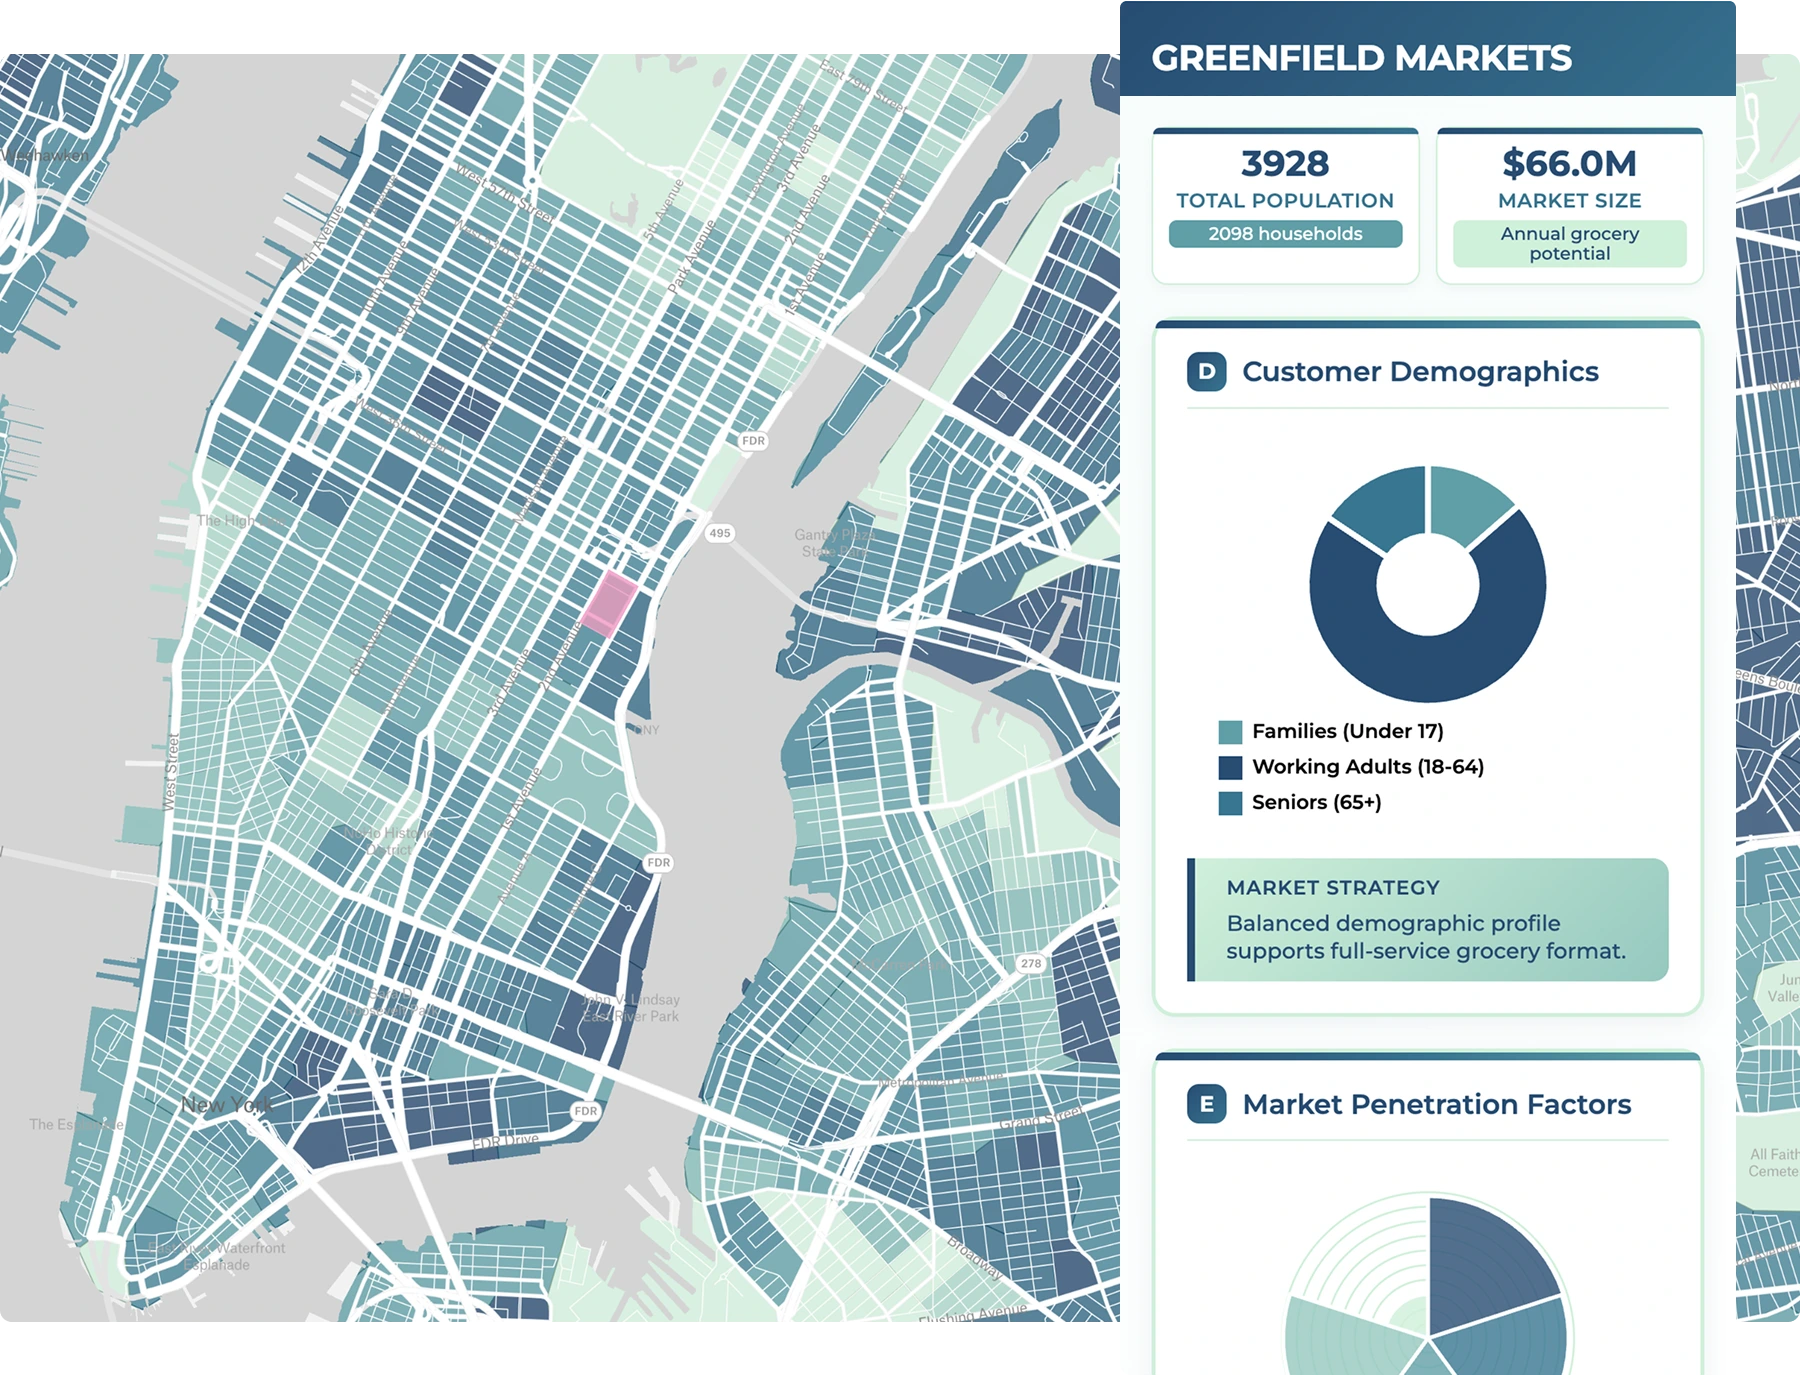
Popups provide a way to display a layer’s attributes on click or hover. Popup interactions are enabled by default for vector layers and disabled by default for raster layers. There are three types of popups for vector data: **Standard**, **URL**, and **Custom HTML**. You can control and customize the popup behavior using the **Popup** section of a layer’s style editor.
{% hint style="info" %}
Raster layers don't have popups, so to read raster values into a point, line, or polygon layer's attributes — for example the elevation at a set of monitoring points — use the **Sample raster** method in [spatial analysis](/layers/spatial-analysis.md#sample-raster).
{% endhint %}
## Standard popups
{% embed url="" %}
#### Configure standard popups
1. In edit mode, open the style editor for the layer
2. Scroll to the bottom of the style editor to the **Popup** section
3. Click on the dropdown next to **Contents** to customize the layout and contents. Add a title, configure an image, and reorder, remove and format attributes. See [#content-settings](#content-settings "mention")for more info.
{% hint style="info" %}
Popups update in real time! Click on a feature to see changes as you make them.
{% endhint %}
#### Layouts
Felt provides two display options for the standard popup type: Table and List.
* Table layout is more compact and has keys and values displayed on the same row
* List layout is less compact and has keys and values ordered in a list format
{% columns %}
{% column %}
Table
{% endcolumn %}
{% column %}
List
{% endcolumn %}
{% endcolumns %}
#### Content Settings
Within the **Contents** settings, you can control what appears in the popup menus:
* Choose a layout
* Add, remove, and reorder attributes
* Select a popup **Title** attribute
* Add an image in the header (the image must be a public image URL or an [Image](/layers/editing-layers.md#supported-attribute-types) attribute)
* Edit attribute names *(double-click on the attribute name)*
* Format the values *(click **123** when hovering over an attribute)*
## Custom HTML (with AI)
{% hint style="success" %}
This feature is only available to customers on the [Enterprise plan](https://felt.com/pricing). To upgrade, [contact Sales](https://felt.com/sales).
{% endhint %}
Custom HTML popups let you fully customize the contents and layout of layer interactions. Describe what you want and Felt AI generates the HTML (Liquid), CSS, and JavaScript — which you can edit and extend directly — or write your own from scratch. Popups can include photos, interactive charts, dropdowns, and more.
To get started, set **Type** to **Custom HTML** in the **Popup** section of the layer's style editor. See [Custom popups](/developer-platform/custom-popups.md) for the full guide: creating a popup, prompt examples, and writing your own with Liquid.
## URL popups
Use URL popups to load and display external websites in an iframe inside Felt when clicking or hovering on features in layers. URL popups can use attributes in your data to point to feature-specific URLs. You can also add URL-related attributes from your data by clicking the **plus** button in the editor and select the URL attribute.
{% hint style="success" %}
This feature is only available to customers on the [Enterprise plan](https://felt.com/pricing). To upgrade, [contact Sales](https://felt.com/sales).
{% endhint %}
#### Configure URL popups
1. From the **Popup** section of a layer’s style editor, set **Type** to **URL**
2. The popup configuration dialog will open
1. **the left side:** iframe builder (add attributes from the data with the **plus** sign)
2. **the center:** previews (desktop & mobile available)
3. **the right side:** layout controls (see [#layout-options](#layout-options "mention"))
3. Configure your iframe URL from static text and/or attributes. See [#examples](#examples "mention") below.
1. To add an attribute to the URL, click on the plus sign at the top of the builder and select the attribute to include in the iframe URL. Attributes have double curly brackets surrounding them.
4. Review the URL and preview the popups in both Desktop and Mobile modes.
5. Click **Save** (top right) once you are finished editing the popup
6. Test the popup experience by clicking on a feature in your map
{% hint style="info" %}
All edits and changes are applied immediately to your previews, saved changes are applied immediately to the live map.
You can always return to the configuration settings by clicking on **Edit...** in the **Content** row.
{% endhint %}
#### Examples
iframe URLs can be created from static text, a URL attribute in the data, or a mix of static text and data attributes.
**Static URLs**
Load a static URL into the builder to load the same website for all feature in the layer
**URL attribute**
Point to attribute URLs in the data so different features show their associated URLs. Attributes will have double curly brackets surrounding the attribute name in the builder to indicate dynamic data.
**Mix of static and dynamic attributes**
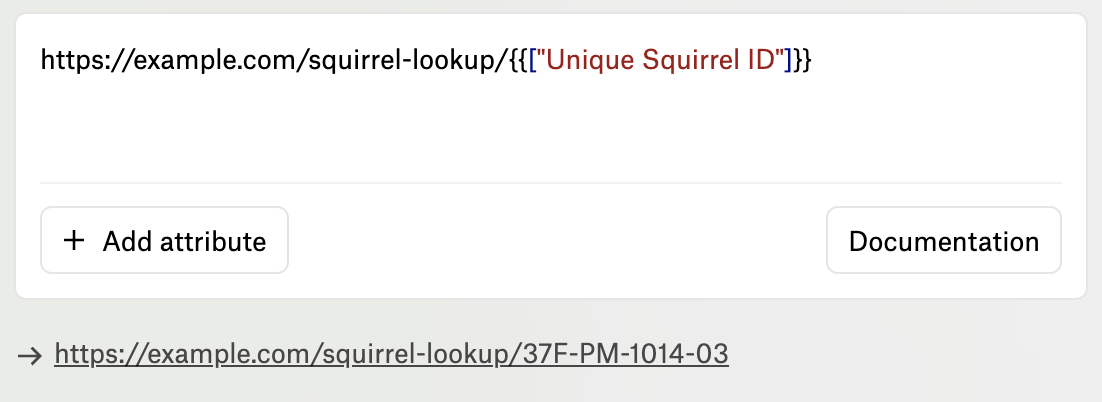
In this example an attribute is used as part of a URL to load different content on a website per feature popup. The **Unique Squirrel ID** attribute is used to point each feature to a different URL. Attributes will have double curly brackets surrounding the attribute name in the builder to indicate dynamic data.
#### Troubleshooting iframes that won’t load
When a URL won’t load within an iframe but loads normally otherwise, it is likely because the website’s response headers prevent the website from being embedded. To resolve the issue, add a [Content-Security Policy response header](https://developer.mozilla.org/en-US/docs/Web/HTTP/Headers/Content-Security-Policy) to the embedded website.
## Layout options
{% hint style="success" %}
This feature is only available for Custom HTML and URL popups on the [Enterprise plan](https://felt.com/pricing). To upgrade, [contact Sales](https://felt.com/sales).
{% endhint %}
Use the **Layout** control inside the setup modal to control where the popup is shown: popup card, left sidebar, right sidebar, or popup modal.
You can provide an attribute to use as the title with the **Title** field and specify the width and height of the interaction’s container via the **Width** and **Height** input fields.
Use the **Header** setting to control the visibility of the top-bar.
* **Standard** headers show the layer name, the Title, and overflow menu
* **Compact** headers show the overflow menu
* **None** removes any header option from the popup
Custom HTML and URL popup content can be shown in four different layouts: Popup, Modal, Right sidebar, or Left sidebar.
Clockwise from top left: popup, modal, right sidebar, left sidebar
## Raster interactions
Raster layers have interactions disabled by default. To show raster pixel values on hover or click, click the dropdown next to the **Show** control within the **Popup** section of your raster layer's style editor.
## Interaction behavior
Interactions can be shown on click, only when clicking on labels, or on both hover and click. Configure when interactions are shown using the **Show** control from within the **Popup** section of the layer style editor.
Looking to turn off interactions on a layer? Click the **On click** dropdown next to **Show** and select **Never**.
When clicking on area with overlapping interactive features, arrows are provided to step between features.
---
# Agent Instructions
This documentation is published with GitBook. GitBook is the documentation platform designed so that both humans and AI agents can read, navigate, and reason over technical content effectively. Learn more at gitbook.com.
## Querying This Documentation
If you need additional information that is not directly available in this page, you can query the documentation dynamically by asking a question.
Perform an HTTP GET request on the current page URL with the `ask` query parameter, and the optional `goal` query parameter:
```
GET https://help.felt.com/layers/popup-interactions.md?ask=&goal=
```
`ask` is the immediate question: it should be specific, self-contained, and written in natural language.
`goal` is optional and describes the broader end goal you are ultimately trying to accomplish on behalf of the user. GitBook uses it to tailor the answer towards what is most useful for that goal.
The response will contain a direct answer to the question and relevant excerpts and sources from the documentation.
Use this mechanism when the answer is not explicitly present in the current page, you need clarification or additional context, or you want to retrieve related documentation sections.